
In this blog, we are going to learn how to add a launcher icon to react native apps. Launcher icon or app icon is used to represent apps. This icon will appear in your phone’s home screen app list.
There are multiple ways to do it like using android studio or manually adding the images in the src folder. In this blog we will focus on the method that uses android studio.
Prerequisites : -
- React-native setup
- Android studio
Here is your step by step guide to add icon to react native app: -
Method 1 : (Using Android Studio)
Step 1 :- (You can skip this step if you are working on an existing project)
Create new React Native Project by following the below steps -
- Open terminal
- Change the directory/folder where you want to create your project.
Run command :
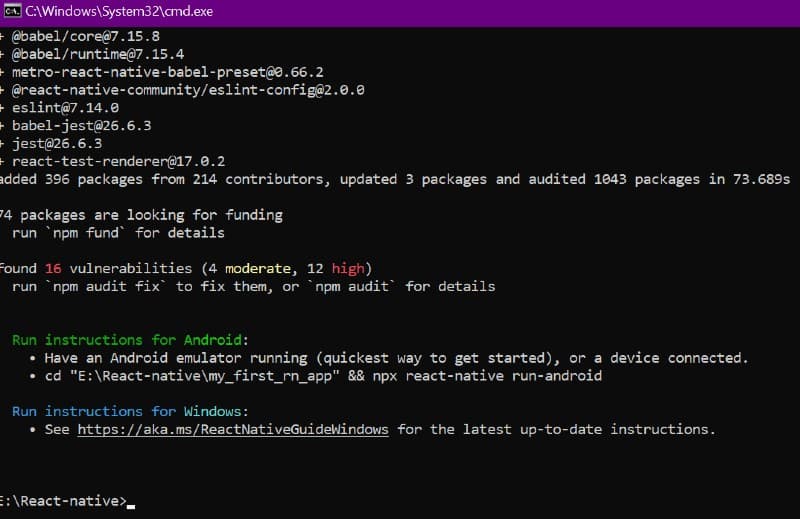
npx react-native init my_first_rn_app

After installation, the new React Native project will look like the image shown below.
Step 2 : -
(a) Open android studio
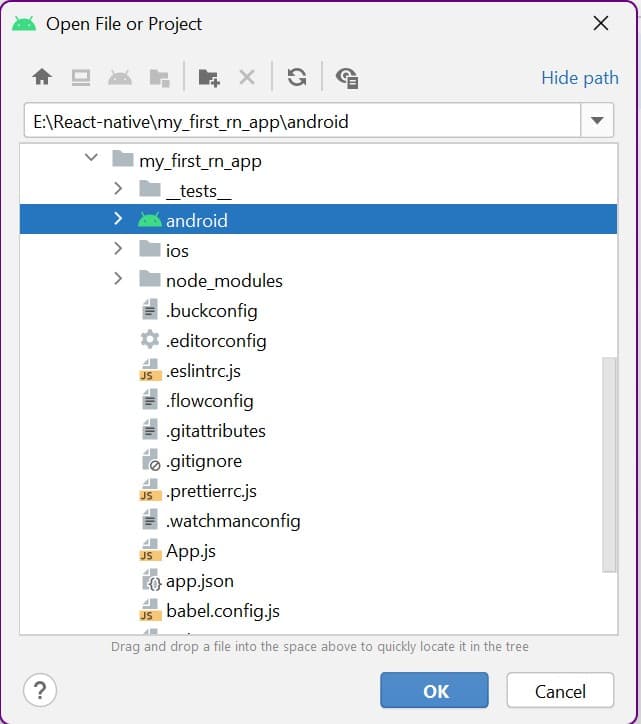
(b) Open android folder of newly created project in android studio
(c) Wait till completion of Gradle build
(d) Open Image asset : -
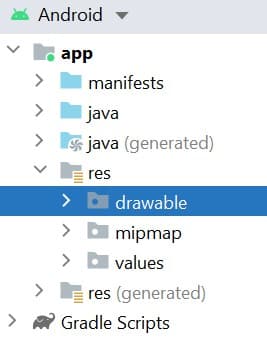
- Open app folder
- Right click on res folder
- Click on new
- Click on Image Asset
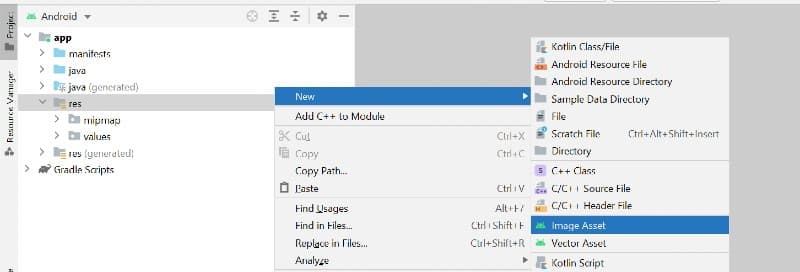
Image Asset will look like below image
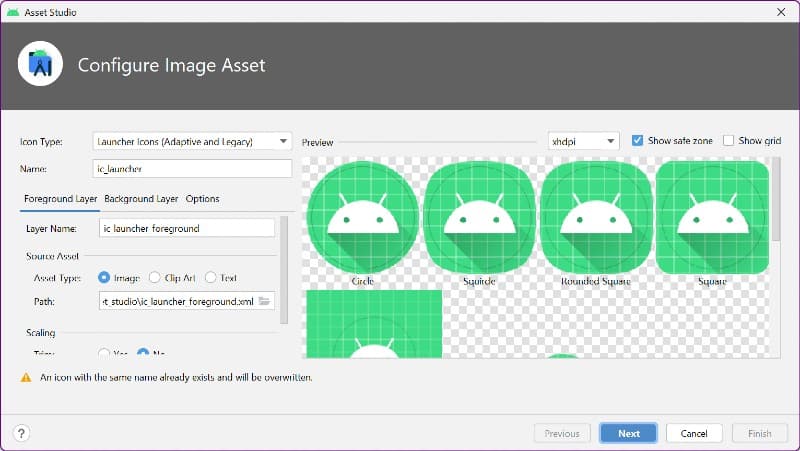
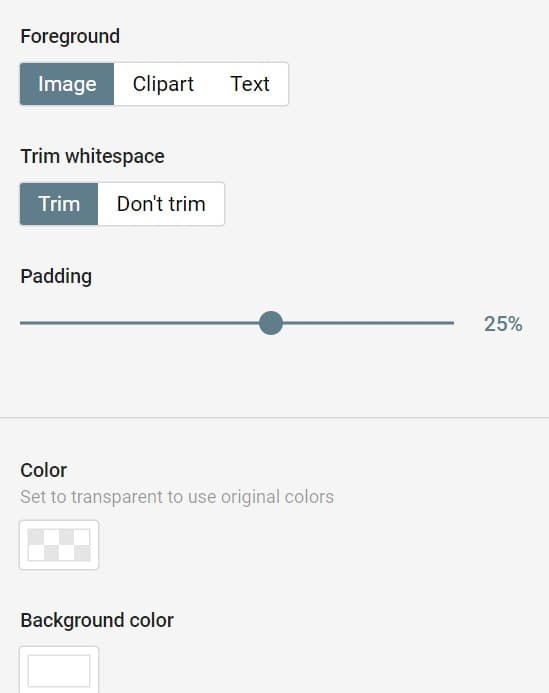
(e) Configure Image asset
There are multiple options to configure image asset but we are going with the default configuration.
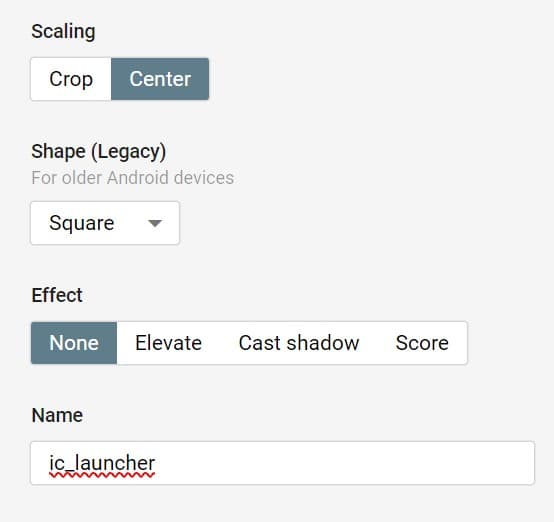
- Choose your icon image path and click next (After path selection, you can see your icon preview in different shapes)
- Click finish ( It will generate a drawable folder in src. It contains xml file)
Step 3: -
(a) Open project in VS code (or in any editor)
(b) Open terminal
(c) Start project
Command : -
npx react-native run-android
(d) Now you can see Icon in your app
![]()
Method 2 : (Without Android Studio)
Step 1 :-
- Choose any icon which you want to add.
For this blog, we are choosing the icon shown in the screenshot below-
- Open Below Url and Upload your Icon.
Launcher Icon generator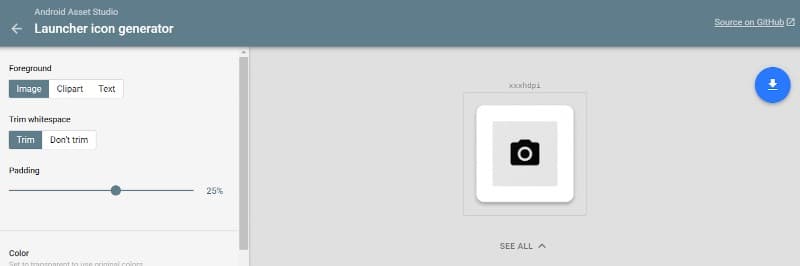
- Download the zip folder and extract it. You can customize your icon from left toolbar.
Step 2 :-
- Copy all mipmap folder from the extracted zip file
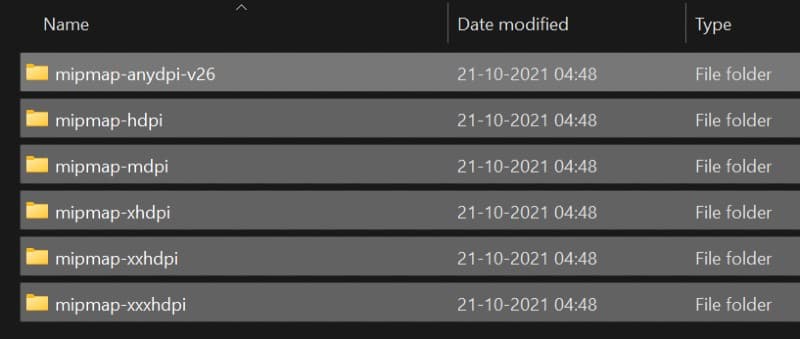
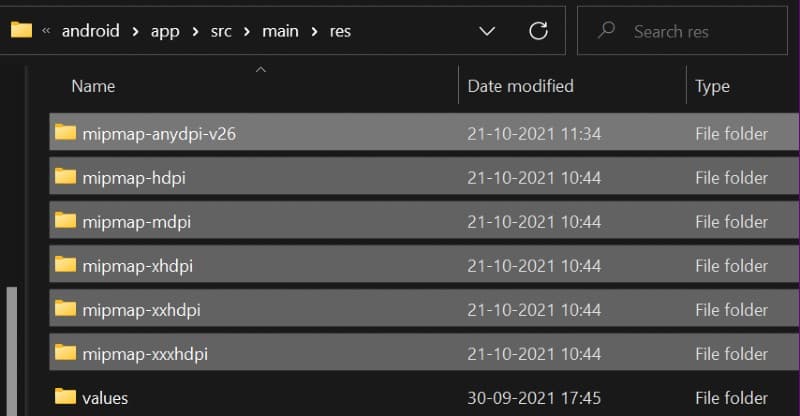
Now open scr folder of your react-native project. Follow below path
Your_project -> android -> app -> src -> main -> res
- Paste the copied file in res folder
Step 3 :-
Run your Project and you will be able to see the newly added icon on the screen.
![]()
The aforementioned methods can be used effectively to add an icon to the app using android studio. At first we created a react-native app. We opened the android folder of our project in android studio, and finally configured the image asset for the icon where we are able to see icons in different shapes. In the final step, you may check the icon in the running app.