An overview of Routing in AngularJS

So far we have gone through a series of AngularJS components, such as Data binding methods, Modules & Controller, Filter and Custom directives In this blog, we will discuss Routings techniques that will be followed by other components, such as Custom Directives, Scope, Services and others. So let’s talk about Routing. As the name defines, Routing means path. It allows developers to use Views & Controllers based on path match. It’s simple and straightforward. Check out how?
- Look for the path (hash path) i.e. search for the Triggered path
- Get the content from that path i.e. from View/HTML
- Return response back to the View by injecting into HTML or by manipulating DOM.
Routing plays a critical role when we make configurations for the custom application to render specific content or get the content from particular URL based on the path matching. Further, it is helpful when you build SPA (Single Page Application) - one of the important reason to use AngularJS.
Technically speaking, Routing allows you to connect the View and Controller dynamically based on requested URL. Just to let you know Routing is not the part of core AngularJS module and comes up with an additional package. To make your application work you need to enable ngRoute thereafter your conditional event should pass through routeprovider API. Here ngView Directive is responsible to print/render the content in your View. In AngularJS, routing is performed on the client side.
There are several ways to perform routing in AngularJS, however, here we will discuss ngRoute in AngularJS.
Let see how to get the routing module.
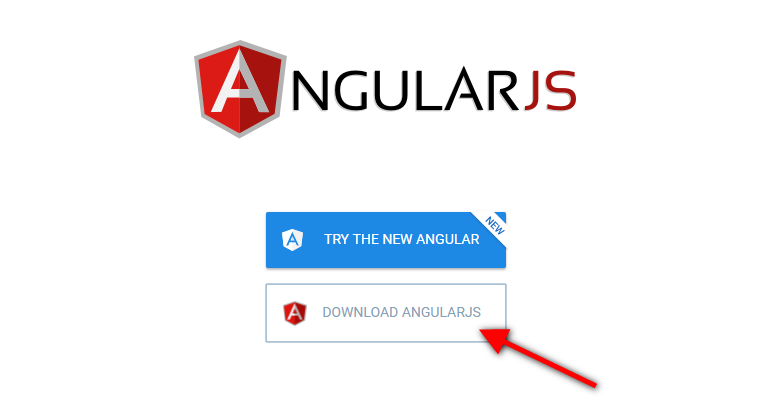
Visit AngularJS official website https://angularjs.org/ and click on DOWNLOAD ANGULARJS link.
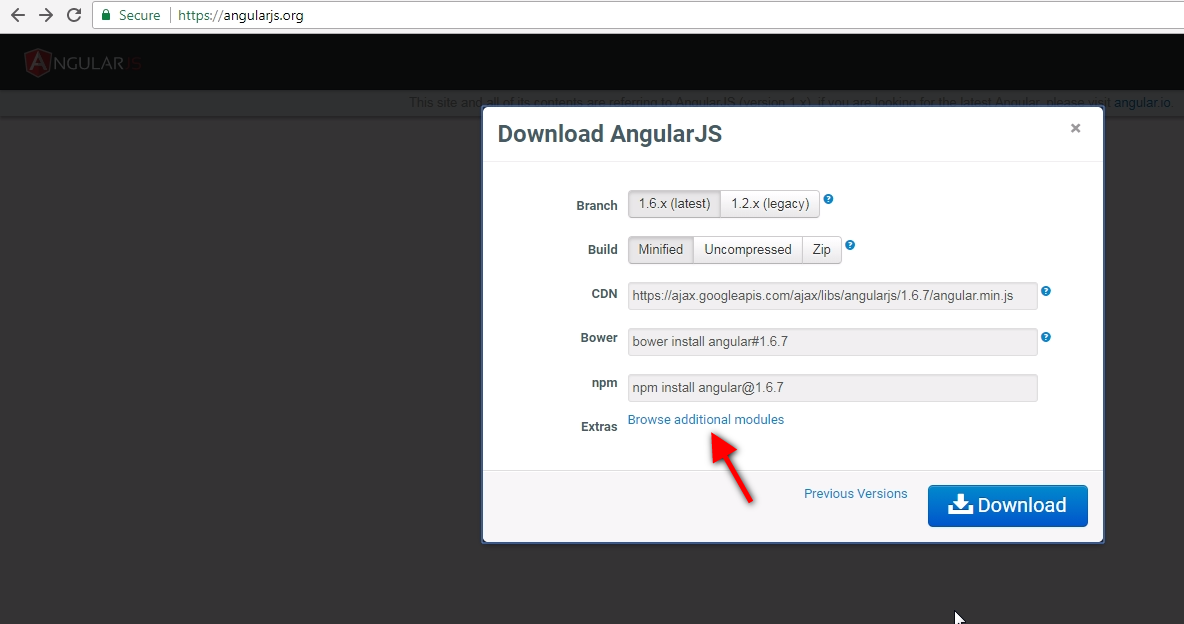
Download AngularJS model box. After that click on Browse additional modules and you will be redirected to https://code.angularjs.org/1.6.7/ . Look for route modules in different format like angular-route.js, angular-route.min.js.
Add ng-route to your script either by pointing to https://code.angularjs.org/1.6.7/angular-route.js or minified version of angular-route.jS or download locally and connect with your custom application.
Cutting straight to the chase. Using a codebase, we can pull the data from an external template and display it on hash path.
Note: All route available inside router are case sensitive. Make sure to use as it is. In case you allow end users to use URL irrespective of the case sensitivity then use core parameter caseInsensitiveMatch. Make it as true and access the path without any issue instead of reflecting 404.
Codebase:
Below is the codebase for the template View. As you can see, we have added minimal code for simplification. In Angular application, there are three javascript files where 1st is a minified version of Angular as we do for all Angular applications. The second file is an additional minified version of the route module, which is not a part of core AngularJS package. The third one is custom JS file where we write custom logic and extend routeprovider API.
angular-route.html
aroute.js
Output:
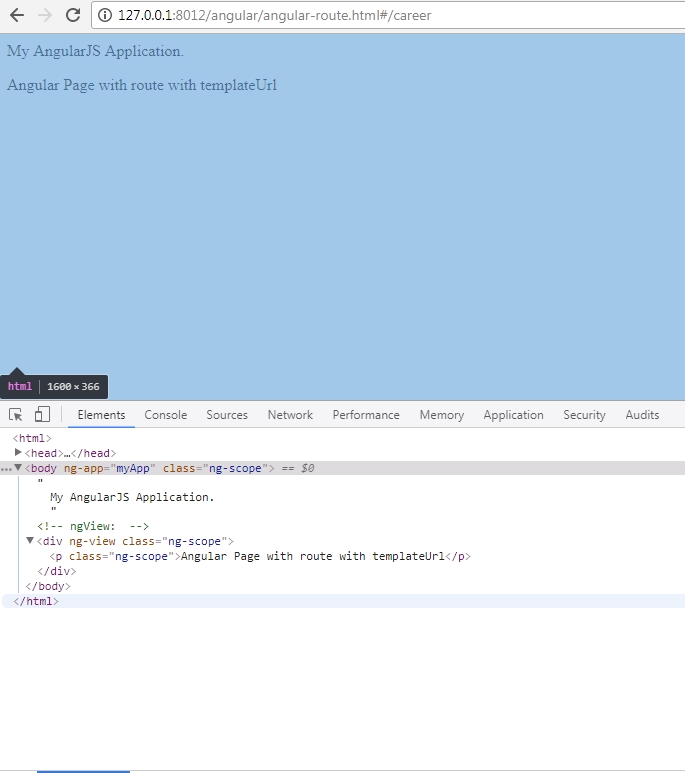
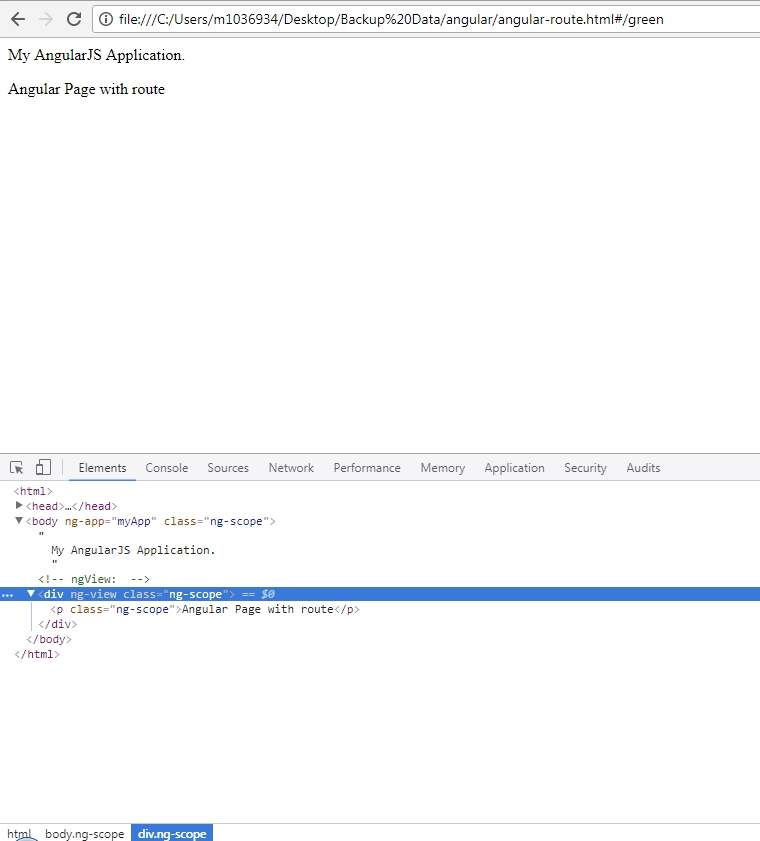
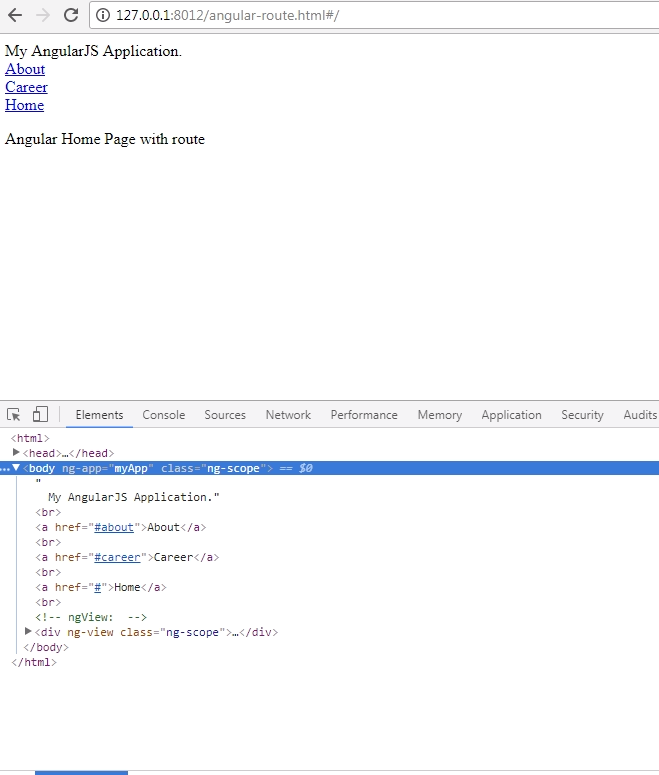
In the below output “Angular Page with route”, the response is coming from the template and getting injected into ng-view. The output works when user try to access the URL [../angular-route.html#/about] as mentioned. It doesn’t reload the page and injects the o/p inside ng-view, acting as a local application by loading page without Page refresh.
Do inspect the element and enable Firebug to check proper formatting and the way data is getting rendered.

Similarly, you can add multiple paths under $routeProvider.
Sourcecode:
Here we have added one more route and a templateUrl option that will fetch the file from provided location and render in the View.
Carrer.htm
<p>Angular Page with route with templateUrl</p>
Output:
So far we have used template and templateURL. I believe, by now, you will be confident enough to use Routing. Moving to the next level we will add Controller in the Route property so that the View respond accordingly. That is Angular router under the controller. It helps in assigning individual controller for specific routes.
In the above source code, we have added controller under career routing to perform business logic and transfer the response to career.htm.
Career.htm
<div>
{{result}}
</div>
This is how we render the data in the View. Here data is retrieved from the Scope and bound to the View. The best part is that the browser executes this templateURL only once and rest of the time request is being cached.
To know more, try using Network tab in Firebug by sending the same request multiple times. Just to add, the external file is loaded only once. Below is the screenshot of Network tab.
Routing provides several ways to handle default route (/), which is nothing but to render view/HTML when we request to the default path. It’s simple.
.when('/', {
template : '<p>Angular Home Page with route</p>'
})
By hitting the default URL it will go to (/) in your browser path so if you don’t write anything for route location then it will go to the default path which is (/).
AngularJS route output3
What If we don’t have any valid URL, how can we handle that. Here .otherwise does trick if a user tries to visit the page, which is not available in Routing configuration page. In such cases, you can handle the exception by redirecting or by showing a meaningful message.
.otherwise ({
template: '<p>Choose item from link.</p>'
})

Moving to another attribute under routing is redirectTo.
Quite a times we come across a situation where we don’t want to change the URL as it is user-friendly and want to maintain the URL pattern for future reference instead of changing them from the backend. This scenario seems really painful for bigger application when you don’t know where it will impact.
The solution is redirectTo that allows you to redirect users from existing path.
.when('/location', {
redirectTo: '/career'
})
In the above source code, location has redirected to [/carrer] route in each and every page request. We can also redirect based on the condition.
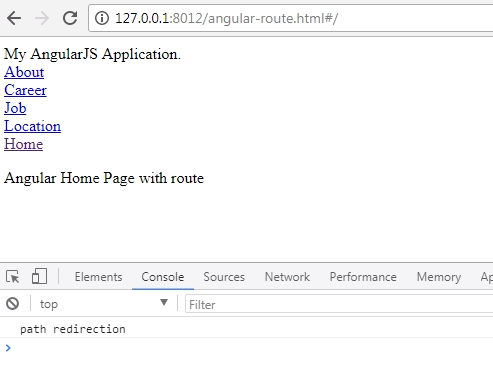
.when('/location', {
redirectTo: function () {
console.log(‘path redirection’);
return "/";
}
})
Here we are redirecting based on certain condition and returning to the default path.
I believe this part of the series is enough to start with AngularJS Routing. So far we have seen different attributes of Routing techniques like how to fetch data from the template and the View from an external file. Redirection with functional logic, default path handling, invalid path handling, routing path case sensitivity handling etc. You will be able to create and use them within your own custom AngularJS Application.