CMO's Guide to Multi-Brand Consistency Across Drupal Sites

The Enterprise CMO's Guide to Managing Multi-Brand Consistency Across 10+ Drupal Sites
Chief Marketing Officers (CMOs) are tasked with overseeing the marketing efforts of large, multi-brand organizations. For enterprises managing 10+ websites, ensuring consistency across all brand touchpoints, while maintaining operational efficiency and security, can be an overwhelming challenge. This task becomes even more complex when you are managing sites built on Drupal, an open-source platform known for its flexibility and scalability but also for its intricate governance needs.
For enterprises looking to scale their digital presence while maintaining a unified brand identity across multiple Drupal sites, a strategic approach is critical. Below, we outline actionable strategies to manage multi-brand consistency effectively, reduce friction, and ensure that marketing operations are both agile and aligned with broader business objectives.
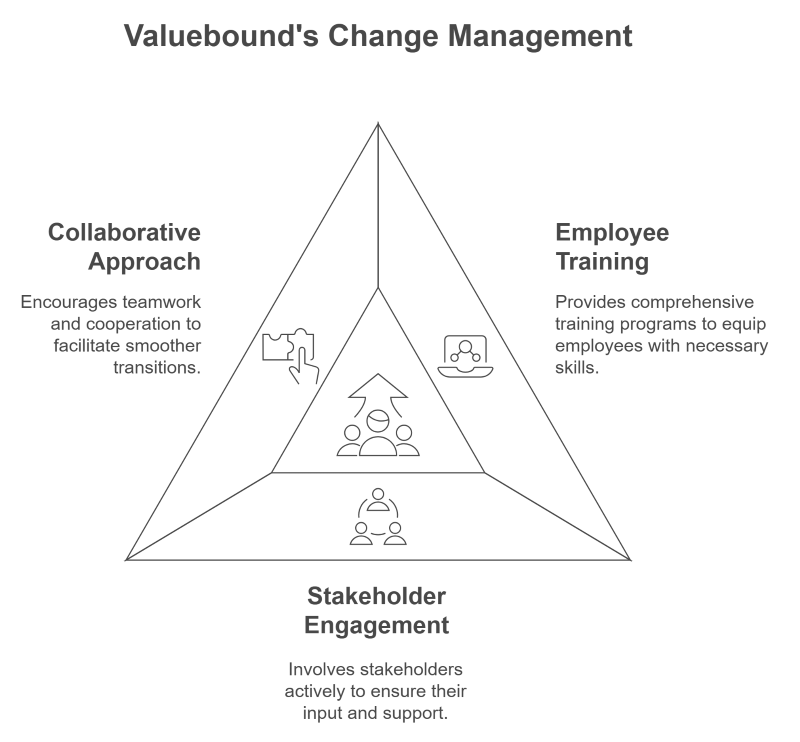
1. Establish a Strong Governance Framework
The first step in managing multi-brand consistency is establishing a clear governance framework. When managing multiple Drupal sites, inconsistency often arises from a lack of central oversight. While Drupal allows for extensive customization, each brand site can easily drift in a different direction without a clear set of rules and guidelines.
A robust governance framework involves setting clear roles and responsibilities for content creators, marketers, and developers. It should define the approval processes for new content, design updates, and site changes, ensuring that every update aligns with the overall brand strategy. Additionally, it’s important to establish clear guidelines for web development practices, such as coding standards, SEO strategies, and security protocols, ensuring that each site maintains the same technical backbone.
A centralized governance model also helps streamline workflows, enabling faster updates across multiple sites without constant manual oversight. By utilizing tools such as Drupal’s built-in workflows or custom modules, you can automate approval and publishing processes, reducing the time and effort required to manage updates across various sites.
2. Implement a Unified Digital Experience Strategy
Inconsistencies in branding and messaging often arise when different teams or departments have varying levels of control over the website. Establishing a unified digital experience strategy that aligns all marketing and development teams under a common set of goals is crucial.
This strategy should focus on delivering a seamless experience across every touchpoint, whether a customer is engaging with a global e-commerce platform or accessing a local media outlet’s website. Key elements of a unified strategy include:
- Consistent Brand Messaging: Ensure that each site, regardless of its regional or functional differences, adheres to the same brand tone, messaging, and visual elements. Use Drupal’s theming layer to implement a consistent look and feel across all sites.
- Personalized Customer Experiences: While consistency is key, personalization should not be sacrificed. Use Drupal’s content personalization modules to deliver tailored experiences based on user behavior, location, and other demographic factors.
- Integrated Content Management: A unified strategy should also integrate content across all sites. By using Drupal’s multisite functionality, you can share content between different brand sites, reducing the duplication of efforts and ensuring that all content is aligned with the overall brand narrative.
3. Leverage Advanced Analytics to Drive Actionable Insights
A major pain point for CMOs managing multi-brand ecosystems is the lack of centralized analytics. Without actionable data, it’s difficult to measure the success of marketing campaigns or understand how customers are interacting with each brand site.
Integrating advanced analytics tools with Drupal can help you centralize your data and provide deeper insights. For example, using modules like the Google Analytics module for Drupal or integrating a third-party analytics tool, such as Adobe Analytics or HubSpot, can allow you to track user behavior across all brand sites.
However, just having access to analytics data isn’t enough. CMOs must ensure that the data being captured is relevant, actionable, and tied to clear business goals. By setting up custom dashboards that consolidate data across all brand sites, you can gain real-time insights into user engagement, conversion rates, and other critical metrics.
Actionable insights derived from analytics allow marketing teams to make data-driven decisions, refine their campaigns, and ensure that each brand site is performing optimally. For instance, integrating data from Drupal’s commerce modules can help you track which products are most popular across regions, allowing for more targeted campaigns and inventory management.
4. Automate and Streamline Marketing Operations
Managing multi-brand consistency is not only about governance and analytics; it’s also about operational efficiency. With multiple sites to maintain, CMOs need to implement systems that automate repetitive tasks and reduce time-to-market for marketing initiatives.
Automation tools, such as Drupal’s Rules module, can help streamline processes by automating tasks like content publishing, user notifications, and data integration between systems. By using automation, you can free up your team’s time for more strategic activities, like content creation and campaign planning.
Furthermore, automation helps reduce human errors, ensuring that content and updates are consistently applied across all sites. For example, if a new blog post is published on one site, automation can ensure it is shared across all relevant regional sites, maintaining a unified brand message.
5. Embrace Drupal’s Multisite Capabilities for Scalability
As your organization grows and adds more brands or locations, scalability becomes a critical factor in maintaining multi-brand consistency. Drupal’s multisite functionality is an essential tool in this regard, allowing you to manage multiple websites from a single installation.
Multisite setups enable enterprises to reuse the same codebase, modules, and configurations across all sites while still allowing for brand-specific customizations. This reduces the overall maintenance cost and complexity associated with managing multiple Drupal instances. For example, when Drupal 9 transitions to Drupal 10, a multisite approach allows for a smoother upgrade process, ensuring that all brand sites are updated at the same time, without the need for separate migration projects.
Additionally, multisite setups improve security by centralizing updates and patches. When a security vulnerability is discovered, you can apply the fix to all sites at once, reducing the risk of breaches.
6. Optimize SEO Across Multiple Drupal Sites
For CMOs, ensuring SEO consistency across multiple sites is essential to maintaining visibility in search engines and driving organic traffic. When managing multi-brand operations, SEO efforts can become fragmented without proper oversight.
Drupal provides several tools and modules that help with SEO consistency, such as the SEO checklist and the Pathauto module, which can automatically generate clean URLs for your pages. By ensuring that each site follows the same SEO best practices, you can avoid issues like duplicate content or inconsistent metadata, which can negatively impact your search rankings.
Additionally, CMOs should invest in an SEO audit for each site, particularly as you move from Drupal 7 to Drupal 9 or 10. The site audit will ensure that the site architecture, page structure, and content are all optimized for SEO, helping to maintain high search engine rankings across all brand sites.
7. Address Security and Compliance
With the rise of digital transformation, ensuring security and compliance across multiple sites has become a critical concern for enterprises. Security vulnerabilities, especially in large-scale operations, can lead to data breaches and damage to the brand reputation.
To maintain security and compliance, it is essential to leverage Drupal’s robust security features. Regular site audits, module updates, and security patches are crucial to mitigating risks. Additionally, CMOs should work closely with their IT departments to ensure that each site adheres to relevant data privacy regulations, such as GDPR or CCPA.
Implementing Drupal’s security modules, like Security Kit and the Login Security module, helps safeguard against common vulnerabilities, while configuring automated alerts for suspicious activity ensures that security threats are quickly detected and addressed.
Conclusion
Managing multi-brand consistency across 10+ Drupal sites requires a combination of strategic governance, operational efficiency, and technological tools. By establishing a strong governance framework, implementing a unified digital experience strategy, and leveraging analytics and automation, CMOs can effectively streamline their operations and ensure that all brand sites align with the broader business objectives.
As Drupal continues to evolve, enterprises that embrace its capabilities, such as multisite management, SEO optimization, and automation, will be best positioned to scale their digital presence and maintain consistency across their brands. With the right strategy in place, CMOs can navigate the complexities of managing multiple sites and deliver a cohesive, high-impact digital experience for customers across the globe.
Ready to streamline your multi-brand strategy across Drupal sites? Let’s explore how effective governance can drive consistency and operational efficiency.