Cloud Computing Trends Driving Digital Transformation: Insights and Examples

Cloud computing has become an essential part of digital transformation, enabling businesses across various industries to leverage the power of technology and innovation to drive growth and success. The rise of cloud computing has been phenomenal, with the public cloud services market expected to grow by 18.4% in 2021, reaching a total of $304.9 billion. In this blog post, we will explore some of the key trends and drivers in cloud computing and digital transformation.
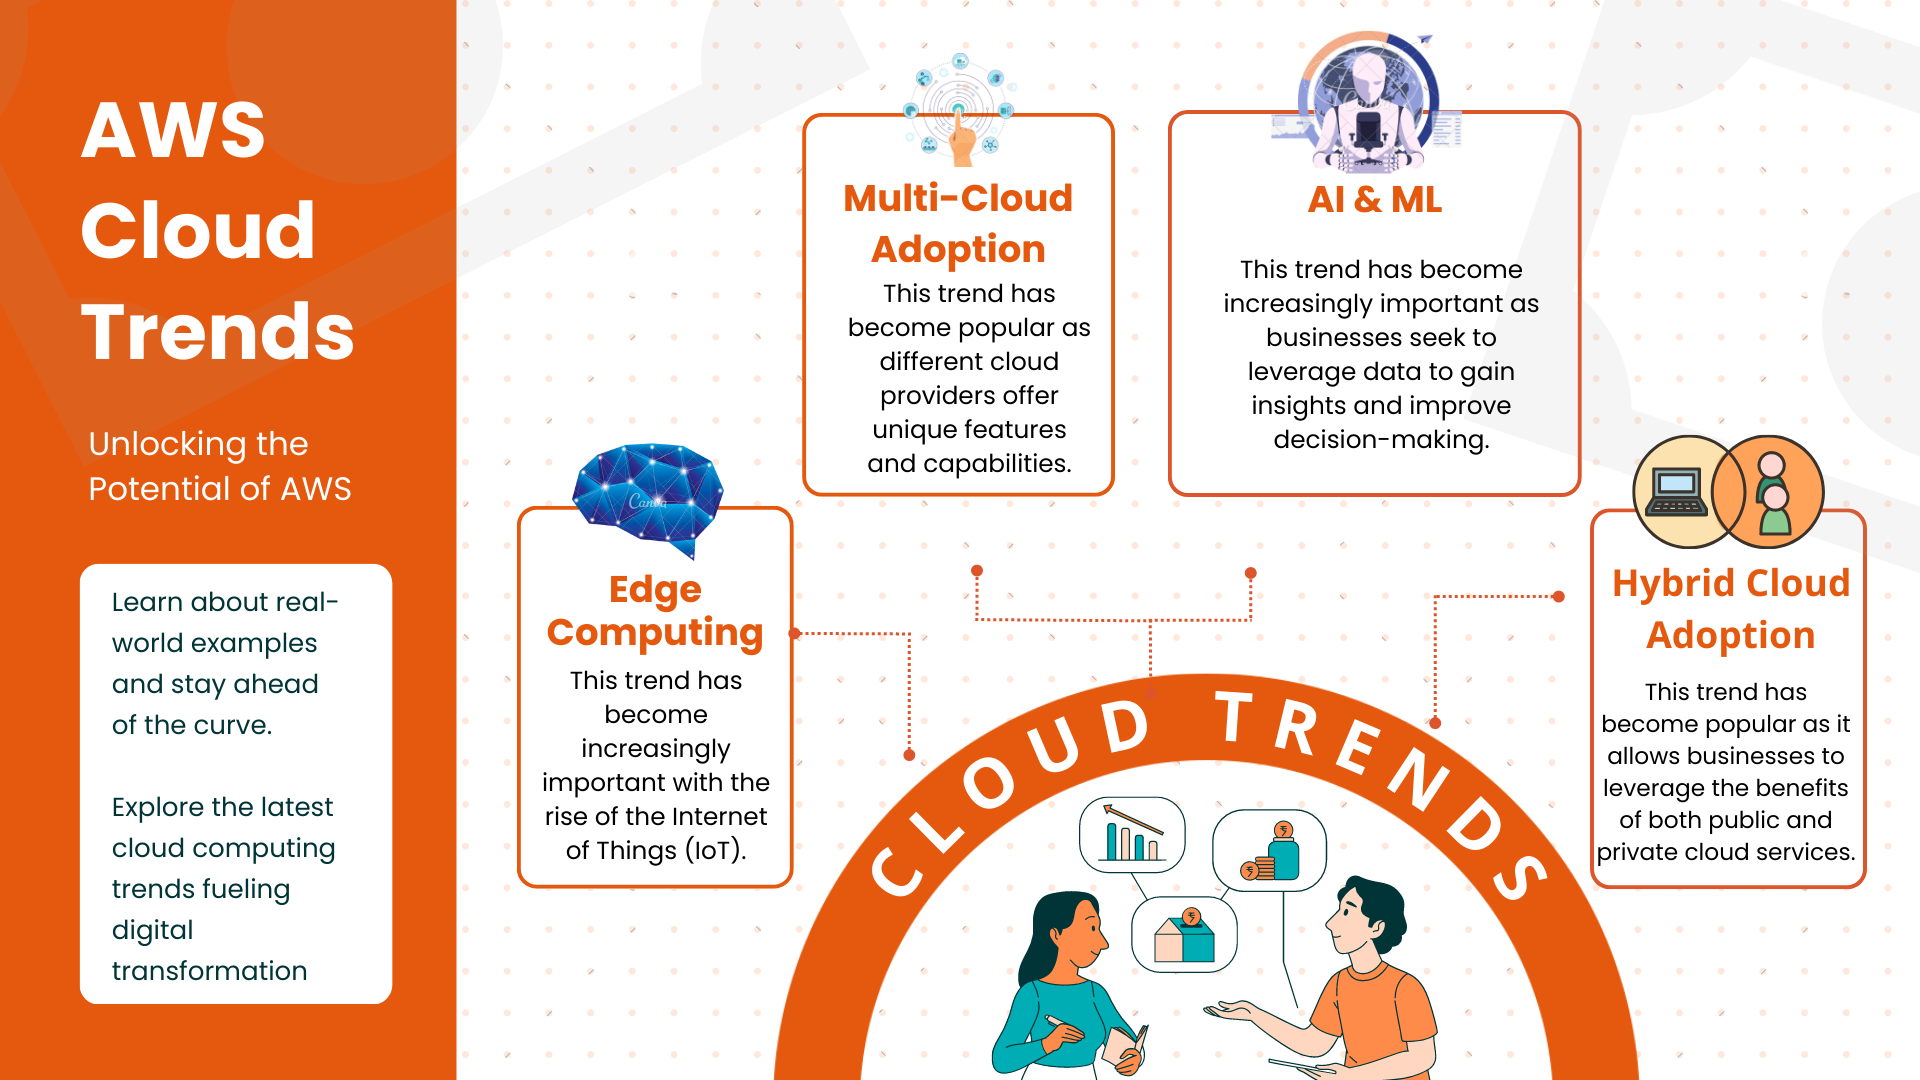
Edge Computing
One of the significant trends in cloud computing is edge computing. Edge computing allows businesses to process and analyze data closer to the source, reducing latency and enabling real-time decision-making. This trend has become increasingly important with the rise of the Internet of Things (IoT), where devices generate vast amounts of data that need to be processed quickly. According to a report by MarketsandMarkets, the edge computing market is expected to grow at a CAGR of 34.1% from 2020 to 2025.
Multi-Cloud Adoption
Many businesses are adopting a multi-cloud strategy, leveraging services from multiple cloud providers to meet their specific needs. This trend has become popular as different cloud providers offer unique features and capabilities. According to a report by Flexera, 93% of enterprises have a multi-cloud strategy, and 87% have a hybrid cloud strategy that includes both public and private cloud services.
Artificial Intelligence and Machine Learning
Cloud computing is a key enabler of AI and machine learning, providing businesses with access to the computing power and resources needed to develop and train models. This trend has become increasingly important as businesses seek to leverage data to gain insights and improve decision-making. According to a report by Gartner, the AI market is expected to grow at a CAGR of 16.4% from 2021 to 2026, and the machine learning market is expected to grow at a CAGR of 43.2% over the same period.
Serverless Computing
Another trend in cloud computing is serverless computing, where the cloud provider manages the infrastructure and automatically allocates resources as needed. This trend has become popular as it allows businesses to focus on developing and deploying applications without worrying about infrastructure management.
Hybrid Cloud Adoption
Many businesses are adopting a hybrid cloud strategy, leveraging both public and private cloud services to balance their computing needs. This trend has become popular as it allows businesses to leverage the benefits of both public and private cloud services. According to a report by IDC, the hybrid cloud market is expected to reach $97.64 billion in 2023, up from $44.6 billion in 2018.
The growth of cloud computing in various industries is evident. For example, the healthcare industry has seen a significant increase in cloud adoption, with the market expected to grow at a CAGR of 23.5% from 2020 to 2025. Another example is the financial services industry, which is expected to spend $105.6 billion on public cloud services in 2022, up from $78.2 billion in 2018.
Numerous companies have successfully leveraged cloud computing to transform their businesses. For example, Netflix has used AWS to become the world's largest online video streaming service, with more than 208 million subscribers. Airbnb, a leading online hospitality platform, has used AWS to scale its business and support more than 150 million bookings annually. Additionally, GE, a global technology and manufacturing company, has used AWS to enable its digital transformation by leveraging cloud-based services for its industrial internet of things (IIoT) platform, Predix.
Conclusion
Cloud computing is a crucial component of digital transformation, and its adoption continues to grow across various industries. With trends such as edge computing, multi-cloud adoption, AI and machine learning, serverless computing, and hybrid cloud adoption, cloud computing is expanding its capabilities and enabling businesses to improve efficiency, increase scalability, and drive innovation. To learn more about how cloud computing can drive business transformation, download our whitepaper, 'Innovating with AWS: The Role of Cloud Computing in Driving Business Transformation'. Contact Valuebound to explore the various cloud computing options available to you and determine the best strategy for your unique needs.