Creating a Custom Form in Drupal 9
Forms can be used in collecting data through any source, for example, site or application. They are based on the structure of nested arrays. Drupal 9 Form API is used to create and process forms in custom modules. They are similar to the Form APIs of Drupal 7 and Drupal 8. There are two types of forms:-
- Config Forms - They can be defined as administrator forms.
- Custom Forms - It allows us to create custom fields and methods.
“\Drupal\Core\Form\FormInterface” is implemented by form classes. Form API workflow is dependent on four main methods i.e. getFormId, buildForm, validateForm, and submitForm. While requesting any form, we can define it using a nested array “$form” which is easily renderable. We can use different abstract classes to provide a base class to form. Those classes are: FormBase, ConfigFormBase, and ConfirmFormBase.
Understanding Drupal Form API
The Drupal Form API (FAPI) is a structured framework for building and managing Drupal forms programmatically. Instead of writing raw HTML, developers define form elements, validation rules, and submission handlers using render arrays. This ensures security, consistency, and scalability across projects.
Drupal form architecture follows three main phases: build, validate, and submit. During the build phase, the structure of the Drupal custom form is defined. In the validation phase, user inputs are checked for accuracy and security. Finally, the submission phase processes or stores the data. This lifecycle makes Drupal forms reliable and easy to maintain.
A Drupal form module organizes form functionality, including routing, permissions, and dependencies. Best practice is to create forms inside a Drupal custom module, which keeps business logic modular, reusable, and scalable. Using a custom module ensures clean architecture, easier maintenance, and better integration within a Drupal 9 project.
Where Custom Forms Fit in Drupal Projects
A Drupal custom form is ideal for handling unique business logic, complex workflows, or integrations with third-party APIs. When you need precise control over validation, submission handling, or data processing, it is better to create a form in Drupal using a custom approach.
In many enterprise projects, developers prefer to create a form in Drupal inside a Drupal custom module to maintain clean architecture and scalability. This ensures that the form logic remains separate from themes and core functionality.
Custom forms can also be displayed through a custom block in Drupal, embedded within layouts, or exposed as standalone pages via routing. Whether it’s a registration workflow, internal data collection tool, or custom admin interface, a properly structured Drupal form module ensures flexibility, maintainability, and long-term project stability.
Key Components of a Drupal 9 Custom Form
Core PHP Class Components
The main class file of a Drupal custom form is usually located in src/Form/ within your custom module. It includes the following essential methods:
getFormId()
This method returns a unique string identifier for the form. Drupal uses this ID to track and manage the Drupal form during its lifecycle.
buildForm()
This method defines the structure of the form using a Form API render array ($form). All fields such as textfields, checkboxes, and submit buttons are declared here along with their properties.
validateForm() (Optional but recommended)
This method contains custom validation logic beyond default Form API checks. It ensures user input meets specific business requirements and sets error messages if validation fails.
submitForm()
After successful validation, this method processes the form data. It may save data, send emails, or redirect users.
Essential Module Files
A Drupal form module depends on additional configuration files:
.info.yml file
Defines metadata such as module name, description, type, and Drupal core compatibility.
.routing.yml file
Specifies the URL path for the form and maps it to the _form key, referencing the fully-qualified class name.
.permissions.yml file (if required)
Defines custom permissions when form access needs restriction, ensuring proper security within the Drupal custom module.
Steps to Create a Custom Form in Drupal 9
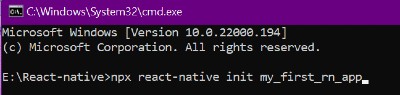
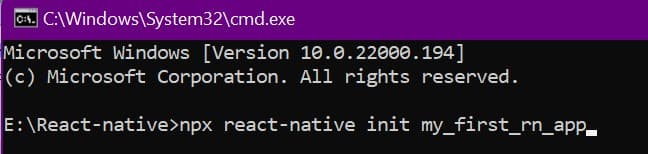
To learn how to create a custom form in Drupal 9, we would create a custom module exposing a custom form that is used as a student registration form.
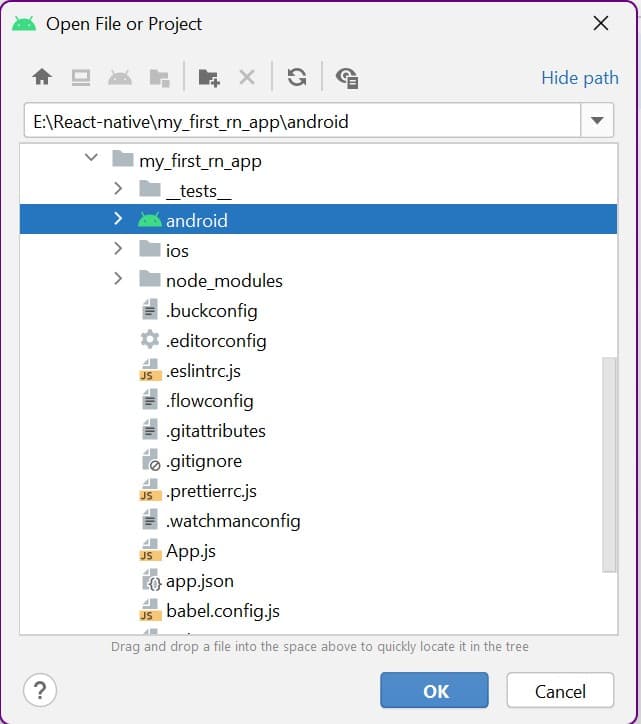
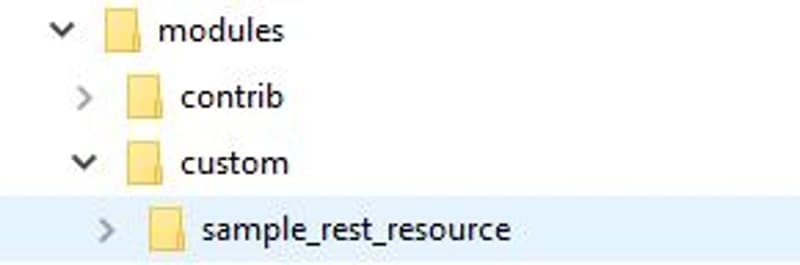
Step 1: Creating a custom module in the custom folder.
Follow path “\web\modules\custom”. “student_registration” is the module name here.
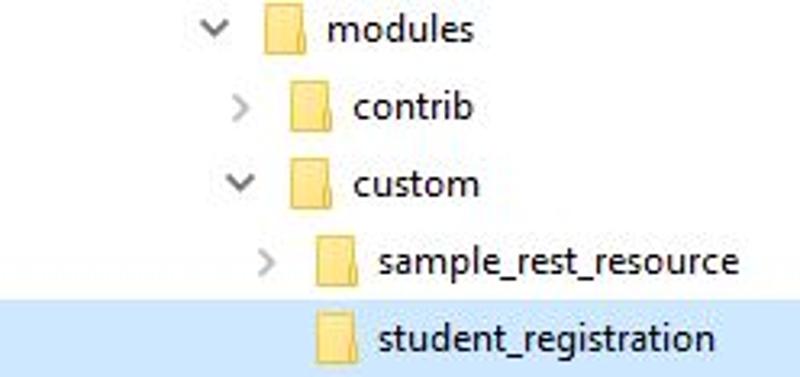
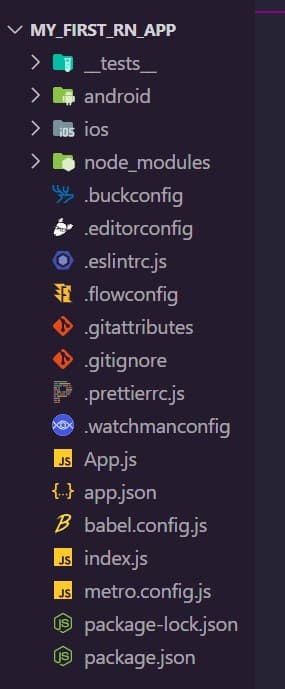
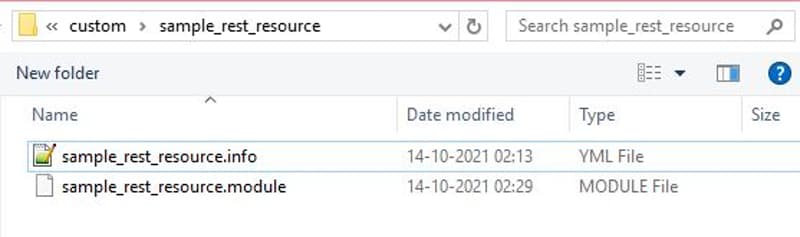
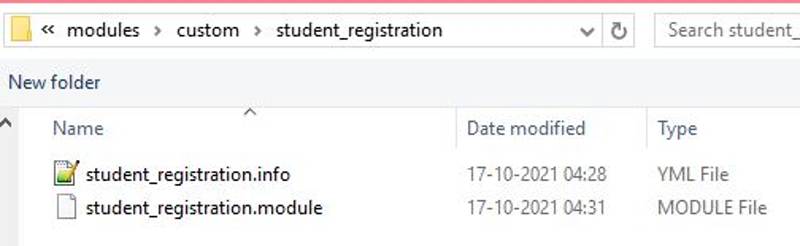
Step 2: Creating an info.yml file followed by a .module file.
In our case, it will be “student_registration.info.yml” and “student_registration.module”.
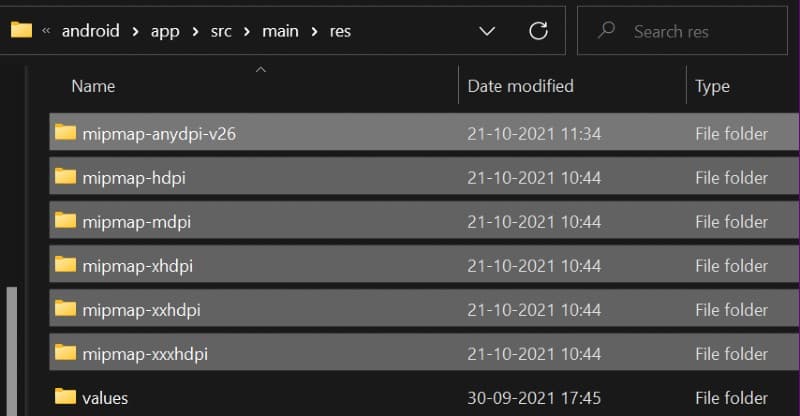
After adding info and module file, the folder structure will look like the following snapshot:
Step 3: Creating a routing.yml file
For learning process, In this blog we would create, “student_registration.routing.yml”.
A route can be defined as a path where we return some content. A routing file contains the path by which our module can be accessed. A route path can also be called a path alias. Using the path alias defined in the routing file we can execute the callback function.
A routing file is divided into four basic parts:-
- {name} - It is a path parameter or element which is used as $name in the controller. Here, “student_registration.form”.
- {path_name} - It is an alias that is used to access the page. Here, “/student-registration”.
- {title} - It can be defined as the title of the page. Here, “Student Registration Form”.
- {module_name} - It is the name of a custom module. Here, “student_registration”.
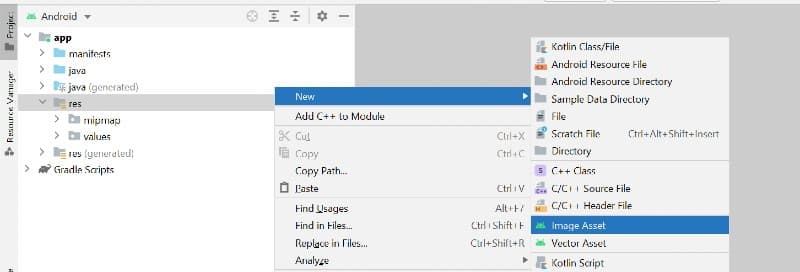
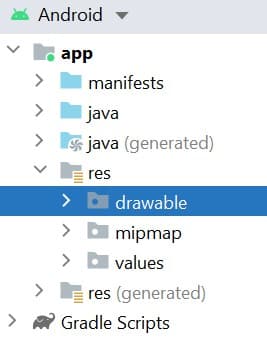
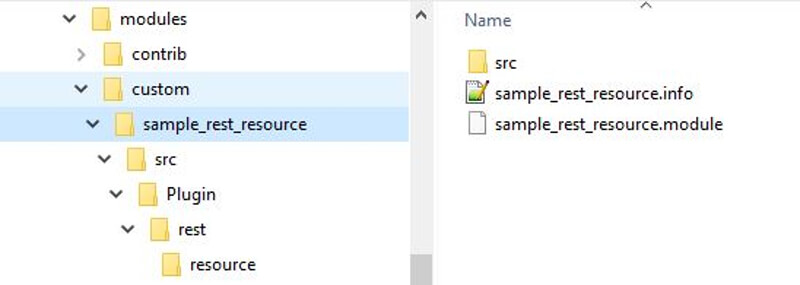
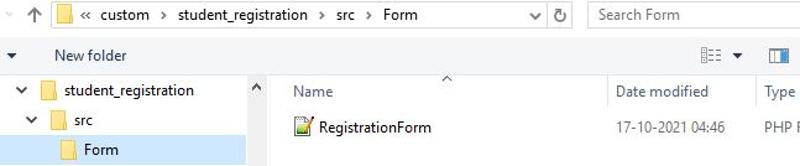
Step 4: Creating Form folder in custom module. Follow the folder structure shown in the snapshot below.

Step 5: Creating Custom Form “RegistrationForm” and adding namespace along with use cases in custom form.
A “namespace” is used to organize form classes into virtual folders and make sure that these classes do not conflict with one another.
A “use” is used to bring the dependency of core classes to our custom class.
Step 6: Implementing getFormId() to define a unique id for the form.
Step 7: Implementing buildForm() to build and process the form using a given unique id.
Step 8: Implementing validateForm() to validate the values of the form via the controller.
Step 9: Implementing submitForm() to process the form submission, only if the form has passed all validation checks.
A complete form will look like this:
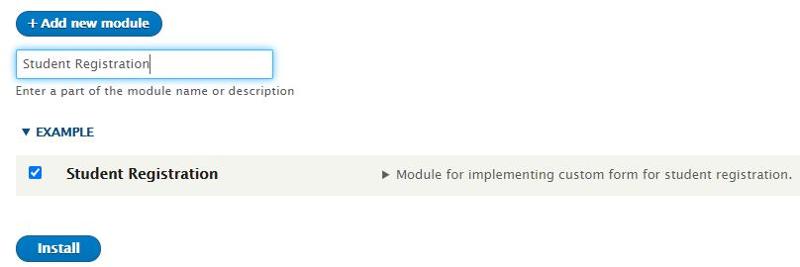
Step 10: Enabling our custom module in the Drupal 9 site.
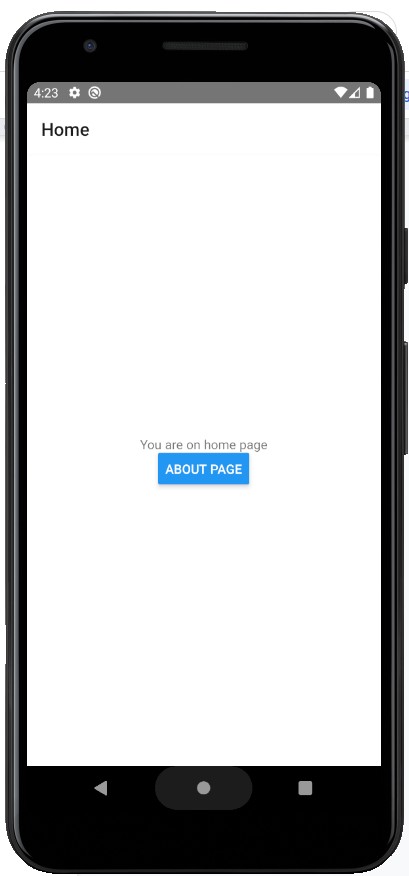
Step 11: Visit the path we have defined in the routing file to access our form. Here it shall be “/student-registration”.
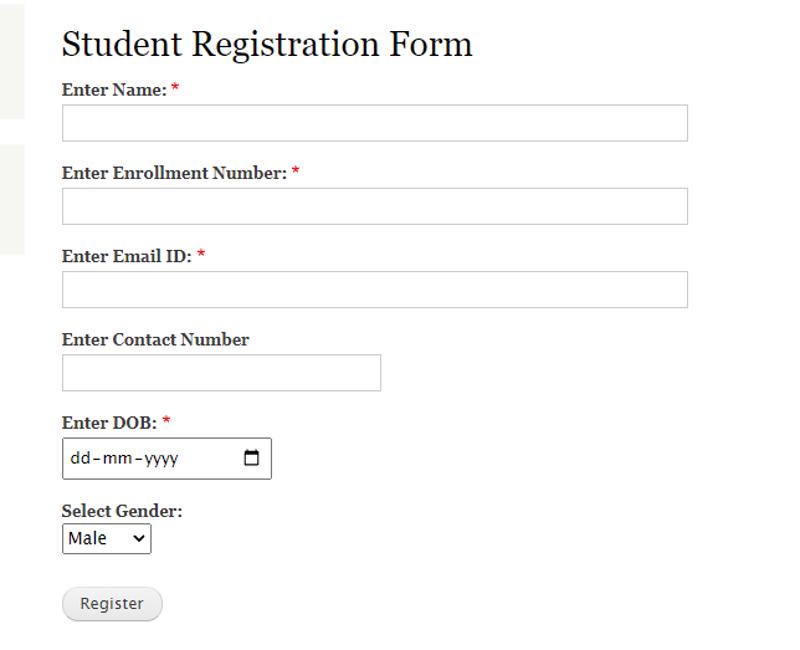
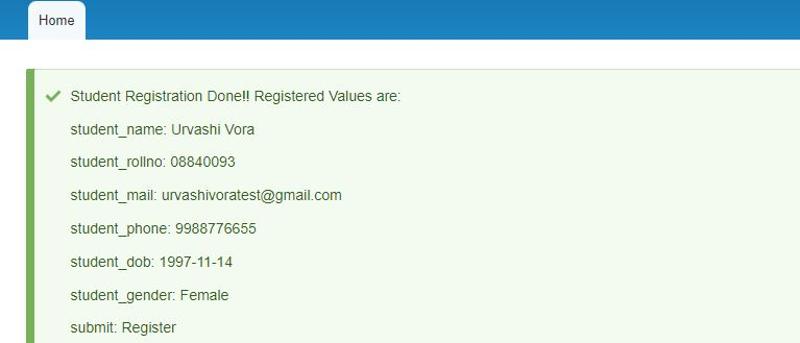
Fill the form and hit “Register”.
Step 12: After submitting the form we can view the result as a message.
By evolving through Drupal 7, Drupal 8, and now to Drupal 9, we learned how we left some hooks [hook_menu()] behind and got a replacement in the form of controllers, routes/aliases defined in yml or yaml files. We can use Form API to build forms with extended inputs, complex forms, and so on using minimal code.
FORM ASSISTANCE – DRUPAL 9 EXPIRES SOON
How to Enhance a Drupal Custom Form
Enhancing a Drupal custom form goes beyond basic structure. By leveraging Drupal Form API (FAPI), contributed modules, and theming techniques, you can significantly improve usability, functionality, and performance within your Drupal custom module.
1. Improve User Experience (UX)
Break up long forms: Use multi-step forms to reduce form fatigue and make complex data collection easier for users.
Conditional logic: Use the FAPI #states property to dynamically show or hide fields based on user input, creating a responsive Drupal form experience.
Use appropriate widgets: Enhance autocomplete fields with Tagify. Improve dropdown usability using Select2 or Chosen integrations available via modules like Webform.
Add help text and tooltips: Use the #description property for field guidance or integrate jQuery UI Tooltips to provide additional clarity.
2. Add Functionality and Validation
Server-side validation: Implement custom validation inside validateForm() to ensure data integrity and prevent invalid submissions.
Attach libraries (JS/CSS): Use the #attached property in buildForm() to include custom JavaScript and CSS for improved interaction and styling.
Leverage contributed modules: Modules like Webform can extend your Drupal form module with advanced features such as conditional logic, file uploads, and submission tracking.
3. Customize Appearance
Theming with Twig
Override form.html.twig or create specific templates like form--FORM-ID.html.twig for granular design control.
Apply custom CSS
Define a custom library in your_module.libraries.yml and attach it to maintain brand consistency.
Use form alteration hooks
Implement hook_form_alter() or hook_form_FORM_ID_alter() in your module file to modify existing Drupal core or contributed forms, ensuring flexibility within your Drupal custom module architecture.
Best Practices for Drupal 9 Custom Forms
Following best practices ensures your Drupal 9 custom form remains scalable, secure, and maintainable within a professional project structure.
Development Best Practices
Follow Drupal Coding Standards: Always adhere to official Drupal coding standards. This improves consistency, readability, and collaboration when building a Drupal custom form inside a team environment.
Use Dependency Injection (DI): Avoid static service calls like \Drupal::messenger() or \Drupal::database() directly inside your Drupal form class. Instead, inject required services through the constructor. Dependency Injection makes your Drupal custom module more modular, reusable, and easier to test.
Separate Business Logic: Keep business logic outside buildForm() and submitForm(). Instead, define complex operations such as database interactions or workflow triggers inside a dedicated service class. Your Drupal form module should only handle form-related responsibilities.
Leverage Drupal Form API (FAPI): Use structured render arrays ($form) to define elements. This ensures seamless integration with Drupal’s processing and theming layers.
Use the Right Base Class: Extend FormBase for general forms, ConfigFormBase for settings forms, or use the Entity API when managing content entities. Choosing the correct base class strengthens your Drupal 9 module architecture.
Migrating Custom Forms from Drupal 8 to Drupal 9
Migrating custom forms from Drupal 8 to Drupal 9 is generally straightforward because Drupal 9 maintains backward compatibility with most Drupal 8 APIs. However, careful review and updates are still required to ensure long-term stability and performance.
The first step is checking deprecated APIs. Drupal 9 removed several functions that were marked as deprecated in Drupal 8. If your form inside a custom module Drupal 9 still uses deprecated methods, they must be replaced with updated service-based implementations.
Next, review dependencies and contributed modules. Ensure all modules supporting your form are Drupal 9 compatible. Update the .info.yml file to reflect Drupal 9 core requirements.
It is also important to verify routing, permissions, and service definitions. If your form uses Dependency Injection, confirm that service declarations in services.yml follow current standards.
Finally, thoroughly test validation logic, submission handlers, and integrations. Proper testing ensures your custom module Drupal 9 environment runs smoothly without functional or security issues.